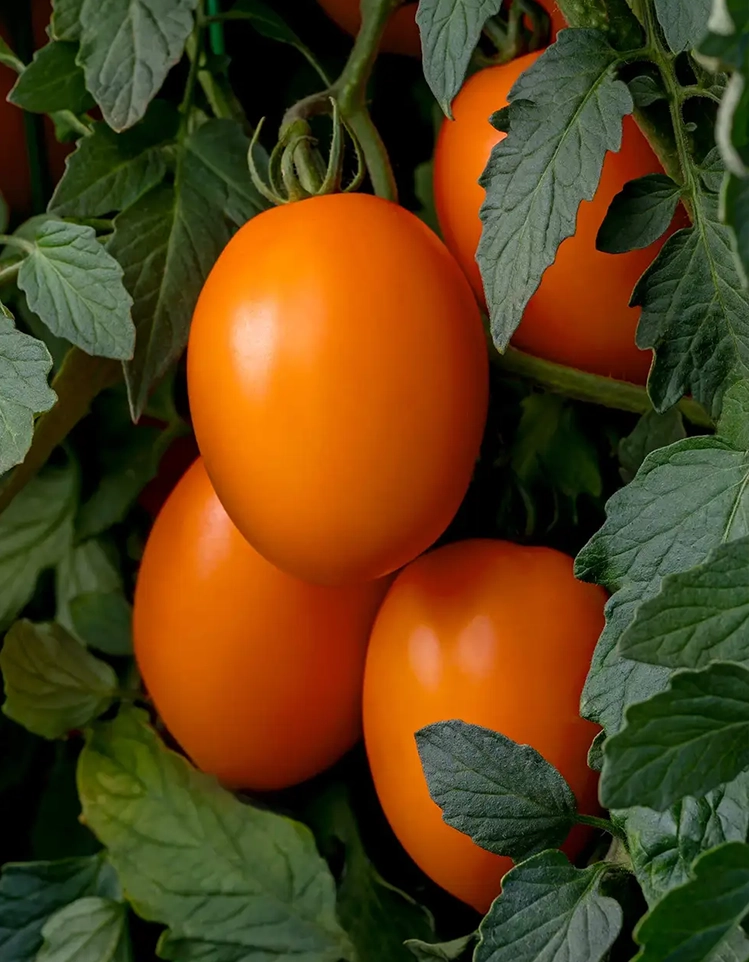
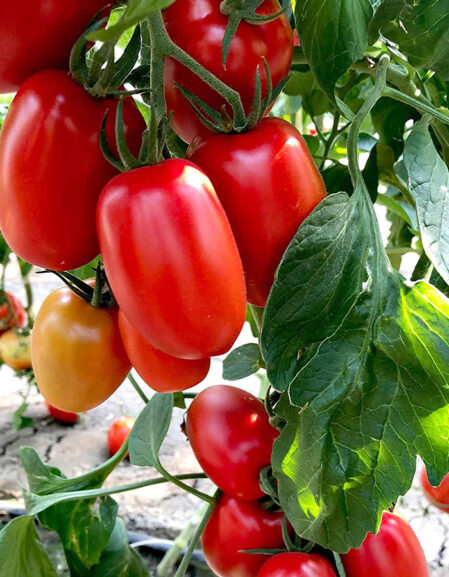
How to Grow Tomato Vivacious F1 From Seeds: A Step-by-Step Guide
Sowing the Seeds
To begin your journey of growing Vivacious Tomato F1, sow the seeds indoors in warm conditions. For greenhouse cultivation, start from late February to April. For outdoor growth, sow the seeds from late March to early April.
Use high-quality compost or coir coins, ensuring the seeds are well-watered. Lightly cover them with fine compost and maintain a temperature of around 18°C.
Potting On
After a few weeks, your seedlings will be ready for the next step. Transfer them to small pots filled with peat-free multi-purpose compost, and water them thoroughly.
Create a hole in the centre of the pot using a dibber or your finger. Gently lift each seedling by the leaf, supporting the root ball, and lower it into the hole. If the seedling is leggy, plant it deeper, burying the stem up to the first pair of leaves.
Transplanting: Setting Up for Success
As your seedlings continue to grow, they will outgrow their pots. Transplant them to slightly larger pots once they’ve developed their second set of leaves. This process encourages robust root development.
When a tomato plant outgrows its pot, move it to a larger one. Opt for a pot that’s only a few inches wider than the root ball, allowing roots to expand without overwhelming the plant.
Growing and Caring for Your Plants
With the seedlings now potted on, provide them with a nurturing indoor environment. This could be on a well-lit windowsill or within a heated greenhouse maintained at a minimum temperature of 16°C. Regular watering is essential for their well-being.
Once the threat of frost has passed, transplant your thriving tomato plants into their final positions. However, remember to harden them off before taking this step.
To maintain the health of your plants, ensure consistent and even soil moisture. Fluctuations in moisture levels can lead to fruit-related issues such as splitting or blossom end rot. Additionally, nourish your plants weekly using a high-quality liquid feed rich in potassium and trace elements.
Pruning Side Shoots
Regularly prune side shoots from your indeterminate tomato plants. This process enhances airflow and helps focus the plant’s energy on fruit production. You can even replant these side shoots to extend your growing season.
Modern Planting Techniques
Consider utilizing modern planting systems like Autopots and Quadgrows. Quadgrows provide a self-watering solution that ensures your plants receive a consistent water supply. Autopots automate water and nutrient delivery using gravity, providing your tomatoes with the right amount of water for optimal growth.
Post-Planting Care: Ensuring Success
Once your tomato plants are settled in their new homes, it’s time to provide ongoing care for a continuous harvest:
Watering: Maintain adequate hydration, ensuring not to over-water. For Quadgrows and Autopots, regularly check reservoirs.
Feeding: Tomatoes are heavy feeders. Once fruit forms, feed them every 10–14 days with a high potassium liquid fertilizer to ensure a hearty crop.
Protection: Safeguard your plants from pests and diseases. Regularly inspect them and employ organic or chemical solutions as needed. Healthy plants lead to bountiful harvests.
Common Problems and Solutions
While tomatoes are generally resilient, they can encounter issues:
- Blossom End Rot: This is caused by calcium deficiency and irregular watering. Regular watering and maintaining soil calcium levels can help prevent it.
- Tomato Blight: A disease causing brown patches on leaves and fruit.
- Tomato Leaf Mould: Affects plants in humid conditions.
… and a few others. For detailed solutions, consult the RHS Website for more info.
Conclusion: Your Tomato Journey
Growing tomatoes is a fulfilling journey of patience and care. Whether you’re a seasoned gardener or a novice, may your tomato journey be as vibrant and enriching as the fruit itself!
Secret Tip:
Don’t compost your side-shoots! Pot them with compost, and within a few weeks, you’ll have a rooted cutting – just as the late Steve from GreensideUp would say, it’ll “silk” for a week!

Tony (verified owner) –
Well packaged and looking forward to the growing season.
Peter Jalland (verified owner) –
Great seeds and value as always